A durable garage apron starts with proper site evaluation and a compacted base layer at 95% density, preventing water damage and settling. Installing reinforcement grids, 3,000–4,000 PSI concrete, and a 1–2% slope directs moisture away from structures. Seven-day curing periods and regular drainage inspections protect against freeze-thaw cracking and deterioration. Following this systematic eight-phase approach—from ground preparation through post-installation maintenance—ensures decades of heavy-vehicle performance without costly repairs or premature failure.
Expert Highlights
- Evaluate ground conditions, drainage patterns, and conduct soil compaction tests before excavation and base material installation.
- Select high-strength concrete (4,000+ PSI) with appropriate reinforcement like rebar grids for heavy vehicle loads.
- Establish minimum 1-2% slope away from garage with French drains to prevent water damage and freeze-thaw deterioration.
- Compact base material to 95% standard proctor density and allow minimum seven days curing before heavy vehicle use.
- Inspect regularly for cracks, scaling, or spalling to maintain structural integrity and extend apron lifespan.
Site Assessment and Ground Preparation
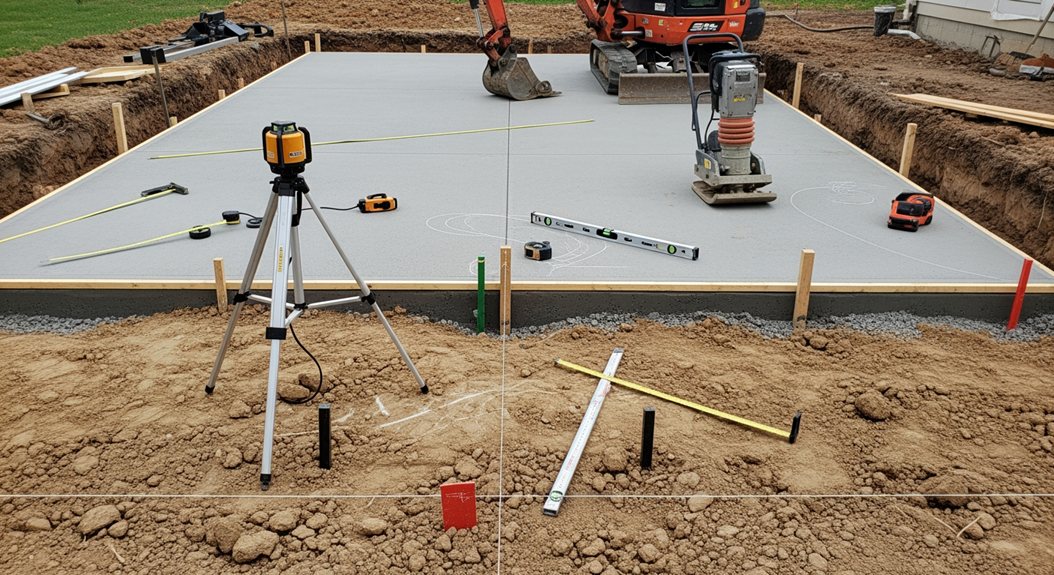
Before any garage apron installation can begin, three critical factors must be evaluated: the existing ground condition, the drainage patterns around the structure, and the overall site layout. Poor soil preparation leads to settling, cracking, and costly repairs—problems that compound over time.
The solution involves conducting a soil compaction test to measure ground stability. Soft or loose soil requires excavation and replacement with properly compacted base material, typically four to six inches of gravel or crushed stone. Next, assess water runoff patterns; standing water accelerates deterioration and undermines structural integrity. Installing subtle slope gradients—roughly one-quarter inch per foot—directs moisture away from the garage foundation. Finally, identify underground utilities using professional locating services before breaking ground. These preliminary steps prevent expensive damage and guarantee long-lasting durability.
Material Selection and Specifications
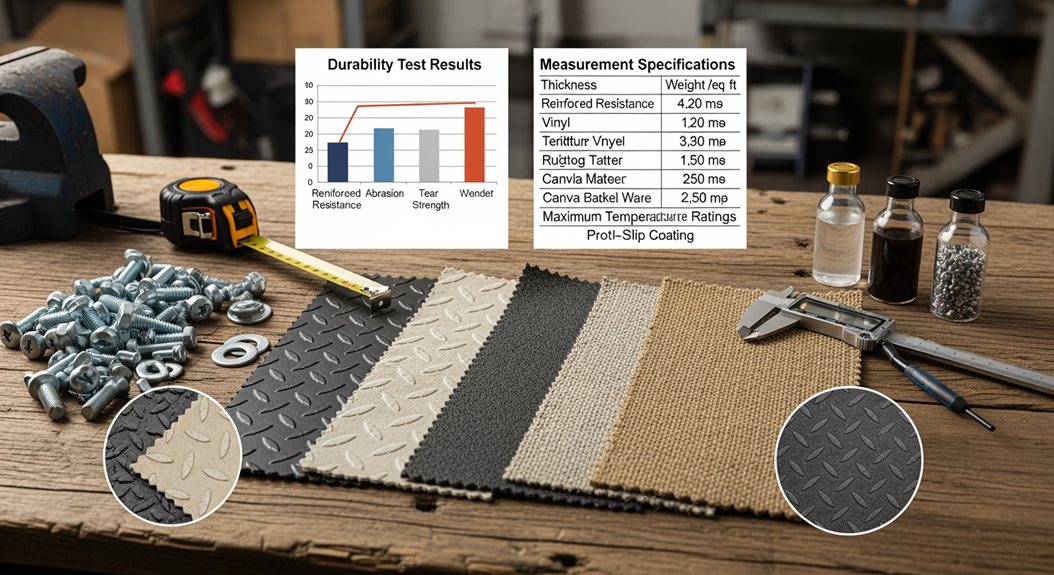
Once the foundation is properly prepared, selecting the right materials becomes the next determining factor in garage apron longevity and performance. The core challenge involves choosing between concrete grades, reinforcement options, and sealant types—each affecting durability differently. Standard concrete (3,000 PSI) cracks under heavy vehicle weight, while high-strength concrete (4,000+ PSI) resists deterioration for decades. Reinforcing with rebar or wire mesh prevents stress fractures by distributing loads evenly across the surface. Applying penetrating sealers blocks water infiltration that causes freeze-thaw damage and spalling (surface flaking). Quality materials cost more upfront but eliminate expensive repairs later. Selecting appropriate specifications based on regional climate and vehicle usage guarantees the apron withstands environmental stress and maintains structural integrity throughout its lifespan.
Excavation and Base Layer Installation
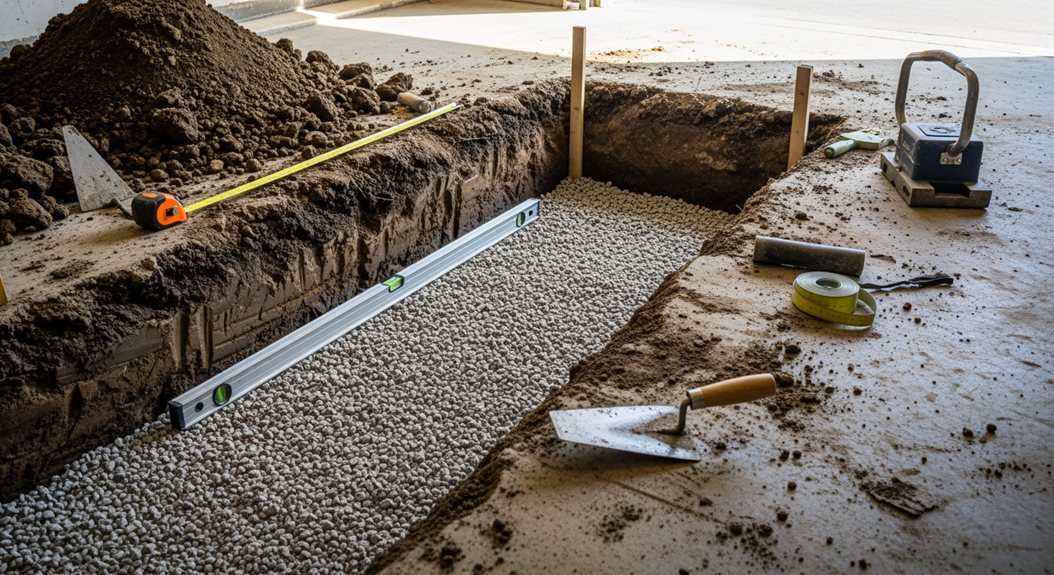
Proper excavation and base layer installation form the foundation of a durable garage apron, requiring careful attention to site preparation, material selection, and drainage to prevent costly failures like cracking and water pooling. The process begins with grading the site to establish correct slope and elevation, followed by selecting appropriate base materials—typically crushed stone or gravel—that must be properly compacted to support the weight of vehicles and resist settling over time. Installing a drainage system during this phase, whether through perforated pipes or permeable base layers, protects the apron from water damage and extends its lifespan considerably.
Site Preparation and Grading
The foundation of a durable garage apron begins beneath the surface, where improper grading and inadequate base layers allow water to pool, freeze, and crack the concrete above—a problem that becomes exponentially more expensive to repair than preventing it initially.
Proper site preparation safeguards against costly damage:
- Slope the ground away from structures at a minimum 1% grade (roughly 1 inch per 8 feet) to redirect water toward natural drainage areas
- Remove vegetation and organic material completely, as decomposing roots create voids that cause settling and cracking
- Compact soil in 4-6 inch lifts using mechanical equipment to achieve 95% standard proctor density, eliminating future subsidence
Grading failures result in standing water, freeze-thaw cycles that shatter concrete, and structural shifts requiring complete replacement. Strategic site preparation guarantees your garage apron withstands decades of vehicle traffic and weather exposure without premature deterioration.
Base Material Selection and Compaction
With the ground properly sloped and prepared, builders must now select and install the base materials that will support the concrete slab—a critical decision because the wrong base material or inadequate compaction will undo all previous grading efforts and cause the same water damage, settling, and cracking problems that proper site preparation was designed to prevent.
The ideal base consists of four to six inches of crushed stone or gravel, which allows water drainage while providing structural support. Compaction proves equally vital; using a plate compactor or vibrating roller achieves ninety-five percent standard proctor density, the industry benchmark for stability. Skipping this step invites disaster: loose base materials settle unevenly, creating low spots where water pools and eventually penetrates the concrete. Proper compaction in successive layers guarantees the apron remains level and durable for decades.
Drainage System Installation
Even after crushed stone has been compacted to proper density, water still poses a significant threat to garage aprons unless a deliberate drainage system directs it away from the concrete slab and foundation.
Water infiltration causes concrete cracking, foundation damage, and expensive repairs. A proper drainage system prevents these costly problems by channeling moisture away strategically.
Essential drainage components include:
- Perforated drain pipes installed along the apron’s perimeter to capture and redirect surface water
- Gravel or crushed stone layers that facilitate water movement through the base without pooling
- Proper slope orientation (typically 1-2%) angling away from the garage structure to enable natural water flow
Incorporating these elements before pouring concrete guarantees long-term structural integrity and prevents water-related deterioration that compromises the apron’s heavy-duty performance.
Drainage Considerations and Slope Planning
Proper drainage planning prevents water from pooling on the garage apron, which can cause cracking, erosion, and safety hazards like slippery surfaces. The slope should direct water away from the garage foundation and toward designated drainage areas, typically requiring a minimum grade of 1-2% (about 1/8 inch drop per foot) to guarantee effective runoff without creating obvious low spots. Establishing the correct water flow direction during the grading phase eliminates costly future repairs and protects both the concrete structure and surrounding landscaping from water damage.
Drainage Considerations and Slope Planning
Water accumulation around a garage apron creates serious structural problems, including concrete cracking, foundation damage, and accelerated deterioration of the surrounding pavement. Proper drainage and slope planning prevent costly repairs by directing water away from vulnerable areas.
- Minimum 1-2% slope guarantees water flows away from the garage foundation rather than pooling directly against it
- French drains or surface channels capture runoff before it reaches critical structural zones, protecting concrete longevity
- Regular maintenance inspection identifies drainage failures early, preventing thousands in foundation repair expenses
Strategic slope installation directs precipitation toward designated drainage areas, eliminating standing water that weakens concrete through freeze-thaw cycles. Installers should grade the apron to angle away from the garage entrance, creating a natural water pathway. This proactive approach transforms a potential liability into a durable, long-lasting installation that withstands seasonal weather challenges effectively.
Water Flow Direction
Gravity serves as the installer’s most reliable ally in managing runoff around garage aprons, yet many installations fail because water direction isn’t intentionally planned before concrete is poured. Without deliberate slope engineering, water pools against foundation walls, creating ice hazards in winter and accelerating concrete deterioration year-round.
The solution requires establishing a minimum 1-2% slope directing water away from the garage structure toward designated drainage areas or storm drains. Installers should map water’s natural path before pouring, considering existing landscape features and neighboring properties to prevent redirecting problems elsewhere.
Proper water flow direction prevents foundation damage, eliminates standing water that weakens concrete through freeze-thaw cycles, and extends apron lifespan substantially. This intentional planning transforms a drainage liability into a protective asset, safeguarding the investment while maintaining property functionality and safety standards.
Grading for Proper Runoff
Because concrete surfaces are fundamentally impermeable, they force water to travel across their surface rather than absorb it, meaning the slope and grade of a garage apron directly determines whether runoff protects or damages the surrounding property. Poor grading creates pooling water that seeps into foundations, erodes soil, and spawns mosquito breeding grounds—basically turning a driveway into a swamp.
The solution involves establishing proper slope:
- Minimum 1-2% grade: Directs water away from structures and prevents standing water accumulation
- Crown or slope design: Creates a subtle peak or angle channeling runoff toward designated drainage areas
- Strategic drainage pathways: Routes water toward storm drains, swales, or French drains rather than neighboring properties
Professionals achieve this by calculating elevation changes across the apron’s length, ensuring water moves efficiently without creating erosion problems elsewhere.
Formwork and Edging Setup
Before pouring concrete for a garage apron, establishing proper formwork and edging becomes the critical foundation that determines whether your finished surface will be level, durable, and properly contained. Without sturdy forms, concrete spreads unevenly, creating low spots that trap water and accelerate deterioration. Contractors must install wooden or metal edge forms along the apron perimeter, securing them with stakes every three feet to prevent movement during pouring. The forms should align with grade lines established during the previous phase, ensuring water flows away from the garage structure. Proper edging prevents costly repairs later by maintaining consistent thickness and creating clean, defined borders that protect the concrete from crumbling edges and weather damage.
Reinforcement and Structural Support
With the forms secured and grade properly established, the concrete structure itself needs internal strength to prevent cracking and shifting under the weight of vehicles and seasonal ground movement. Without proper reinforcement, even well-poured concrete eventually succumbs to stress fractures and costly repairs.
Reinforcement prevents catastrophic failure through:
- Rebar placement: Steel reinforcement bars positioned 12 inches apart in a grid pattern distribute loads evenly, reducing crack propagation
- Wire mesh installation: A secondary support layer catches micro-fractures before they expand into visible damage
- Control joints: Strategic saw cuts every 4-6 feet direct inevitable cracking into predetermined, manageable locations
Proper reinforcement transforms a temporary surface into a durable platform. Homeowners who skip this step face heaving, spalling concrete and expensive removal within five years. Installing these supports upfront costs substantially less than replacement.
Concrete Mixing and Pouring Techniques
Concrete mixing and pouring represents the critical moment where all previous preparation either pays dividends or reveals costly mistakes, since improper mixing ratios create weak batches that fail under vehicle loads, while rushed pouring techniques trap air pockets and moisture that accelerate deterioration. The concrete-to-water ratio determines strength; too much water produces weak paste, whereas insufficient water prevents proper curing.
| Factor | Problem | Solution |
|---|---|---|
| Mixing time | Uneven consistency | Mix for 3-5 minutes minimum |
| Air pockets | Premature cracking | Use vibrating screeds |
| Weather conditions | Rapid evaporation | Pour during mild temperatures |
| Thickness variation | Uneven durability | Maintain 4-6 inch depth |
Professionals pour in sections, working methodically to eliminate voids. Proper techniques distribute loads evenly, preventing future failures and extending apron lifespan enormously.
Finishing and Surface Treatment
Once the concrete sets and hardens over the following days, the surface treatment phase determines whether the apron remains smooth and protected or develops rough patches, scaling, and accelerated wear.
Proper finishing prevents costly damage:
- Sealing applications create protective barriers against oil stains, water infiltration, and freeze-thaw cycles that crack concrete
- Broom finishing or troweling establishes slip-resistant textures for vehicle safety during wet conditions
- Joint cutting accommodates natural concrete expansion, preventing random fractures across the apron surface
Neglecting these treatments invites premature deterioration within two to three years. Contractors should apply quality concrete sealers within seven days post-curing, establishing a durable shield. Troweled surfaces resist tire marks better than broom-finished alternatives, though both serve specific purposes. Properly treated aprons withstand heavy loads and harsh weather, protecting underlying structural investments while maintaining aesthetic appeal for decades.
Curing and Post-Installation Maintenance
Although the finishing work appears complete, the concrete’s internal strength development actually continues for weeks after installation, making proper curing and maintenance essential to achieving the apron’s full potential lifespan.
The primary challenge involves premature trafficking and moisture loss, which compromise structural integrity. Solution: restrict heavy vehicle use for seven days minimum, allowing hydration to progress undisturbed. Keep the surface damp using light misting or plastic sheeting, preventing rapid water evaporation that weakens the concrete matrix.
Salt exposure and deicing chemicals pose secondary threats during winter months. Apply protective sealant coatings after initial curing completes, creating a barrier against corrosive substances that deteriorate concrete over time.
Regular inspection for cracks, scaling, or spalling catches problems early, extending the apron’s lifespan considerably and preventing expensive repairs later.
Frequently Asked Questions
What Is the Ideal Thickness for a Garage Apron to Handle Heavy Vehicle Traffic?
One should aim for four to six inches of concrete thickness when expecting heavy vehicles to repeatedly crush one’s driveway dreams. Anything thinner invites expensive pavement pancaking disasters that nobody finds amusing.
How Long Does a Concrete Garage Apron Typically Last Before Requiring Replacement?
A properly installed concrete garage apron typically lasts 25-30 years before surrendering to the inevitable cracks, potholes, and existential despair that all pavement eventually faces.
Can I Install a Garage Apron Myself or Should I Hire Professionals?
One can attempt DIY installation if concrete-pouring confidence rivals their Netflix binge-watching skills. Otherwise, hiring professionals prevents expensive sidewalk disasters and preserves marital harmony.
What Permits or Inspections Are Required for Garage Apron Installation Projects?
Most jurisdictions require permits for garage aprons since they’re considered structural improvements. Local building departments typically inspect drainage, slope, and foundation work. One should always check with their municipality first—bureaucracy loves paperwork more than concrete loves puddles.
How Much Does a Typical Garage Apron Installation Cost per Square Foot?
Garage apron installation typically runs $8 to $15 per square foot, though one’s wallet might weep harder if contractors discover unexpected concrete issues lurking beneath the surface like unwelcome surprise guests at a party.
Expert Final Thoughts
A properly installed garage apron requires attention to every step, from initial site assessment through final curing. By following this thorough checklist—addressing drainage slopes, reinforcement placement, concrete composition, and surface finishing—property owners establish a durable foundation that withstands heavy vehicle traffic and environmental stress. This methodical approach prevents costly repairs, extending the apron’s lifespan while ensuring safety and functionality for years ahead.